



Your appointment ended with a neat, glossy set. Now your natural nails are thin, bendy, and catching on every sweater sleeve. That reaction is normal, and it doesn't mean your nails are ruined. Acrylic and gel removal is hard on the nail plate, and the sensitivity that follows is a signal to change how you treat your hands for a few weeks. Here's a four-week plan built on three things: hydration, careful filing, and a little protection.
What Removal Actually Does to Your Nails
Extensions bond to the natural nail plate and hold on firmly. When they come off — soaked, filed, or eased away — they usually take a thin layer of the plate with them. That layer doesn't come back on its own. The nail plate is made of keratin, not living tissue, so it can't repair itself; only new growth from the base can replace what's gone.
That's why the first weeks are less about "strengthening" a thin nail and more about keeping it supple and short enough that it doesn't snag. Flexible nails bend. Dry, brittle nails crack and peel. Nail growth is slow — a few millimetres a month for most people — so plan on weeks of care rather than a quick fix.
Week 1: Calm Everything Down
Give your nails a holiday. Book no new set for at least two weeks, ideally four, so the natural nail can grow past the thinnest point. Keep them short with a fine file or a clean clipper, and if a nail bends under pressure, work slowly or leave it until you've oiled it.
- Stop all extensions, wraps, and press-ons.
- Keep length at or just below the fingertip.
- Apply cuticle oil two or three times a day, more if your hands are often wet.
- Resist picking, peeling, or biting any lifted edges.
- Wear gloves for washing up, cleaning, and gardening.
Some tenderness in the first days is common, especially if the nail bed was filed thin. Sharp pain, throbbing, or a nail that lifts away from the bed are different — see the note further down.
Week 2: Make Hydration a Habit
Oil is the single most useful thing you can do. Look for a cuticle oil with jojoba, argan, or squalane near the top of the ingredient list; these are light enough to sink in rather than sit on the surface. Massage it into the nail and the skin around it, not just the cuticle line.
Timing matters more than the brand. The best moment to oil is right after your hands touch water, because wet nails lose moisture as they dry. Keep a small bottle by the sink and one in your bag.
- Oil after every hand wash, and again before bed.
- Follow with a hand cream containing glycerin, urea, or shea butter.
- Skip acetone-based polish removers for now; if you must remove something, choose the gentlest option and oil straight after.
- Turn the shower temperature down a notch. Long, hot water is rough on thin nails and skin alike.
- Drink water, but don't expect it to fix nails on its own. Hydration for nails is mostly topical.
Week 3: File and Shape Without Making It Worse
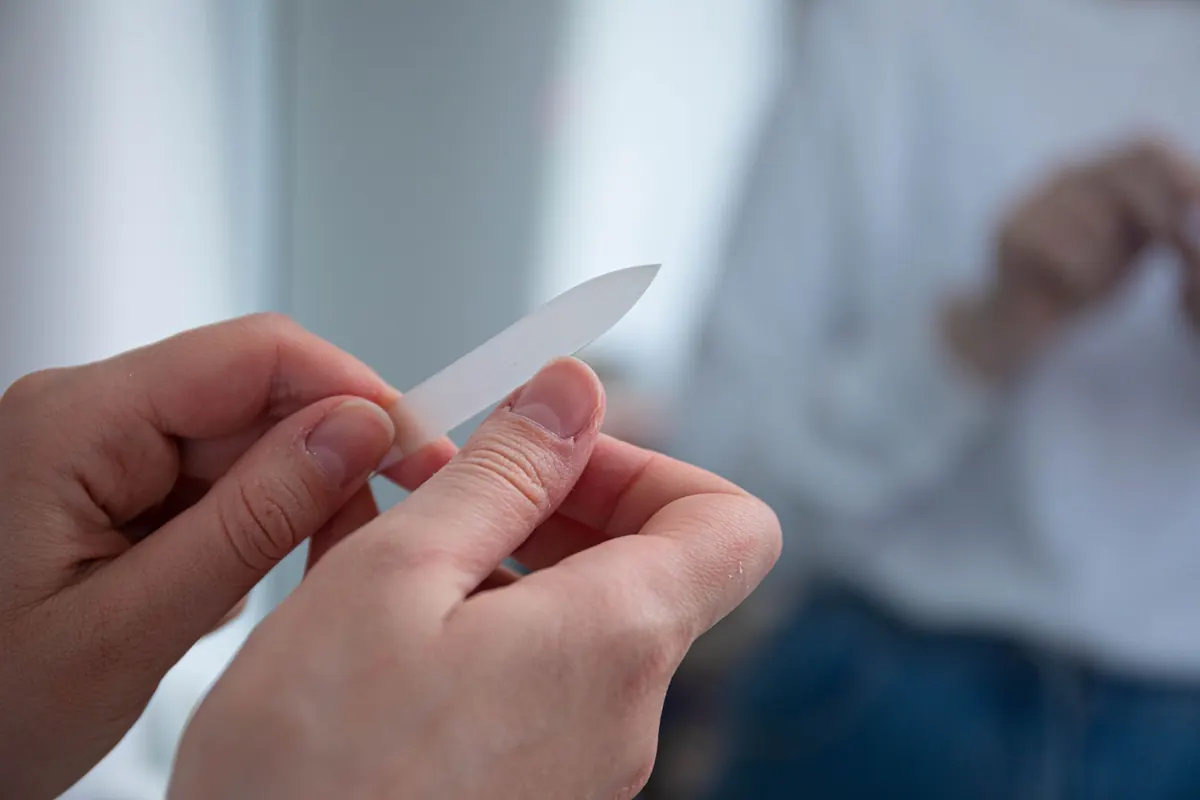
Filing a thin nail the wrong way splits the layers and starts the peeling all over again. Use a fine-grit file — 240 grit or higher, or a glass file — and work in one direction from the side toward the tip rather than sawing back and forth. File when the nail is dry, since wet nails are softer and more likely to tear.
Round the corners slightly to reduce snagging, but keep the shape close to your natural curve. Don't buff the surface of thin nails to make them look smoother; buffing removes material you don't have to spare. And keep them out of the tool drawer — no opening cans, scraping labels, or peeling stickers with a nail.
Week 4: Support Growth From the Inside and Out
By now the free edge should feel slightly firmer as new growth moves down from the base. You can add a strengthening base coat if you want a little protection, but use it as directed rather than daily forever. Hardeners that leave nails stiff and unforgiving can cause their own kind of breakage, and formaldehyde-based formulas are harsh on nails that are already thin.
Nutrition plays a supporting role, not a starring one. Protein, iron, and biotin from food all matter for nail growth, but supplements only help if you're genuinely short of something — and some interact with medication. Talk to a pharmacist or doctor before starting anything, particularly if you have a health condition.
When to Ask a Professional
Most post-acrylic sensitivity settles within a few weeks. Seek advice from a doctor or dermatologist if you notice green, black, or dark discolouration, swelling, redness, a nail separating from the nail bed, or pain that doesn't fade. The same applies if your nails aren't growing, keep splitting, or your hands feel numb or unusually cold. If you have diabetes or circulation problems, check with a healthcare professional before booking another salon service.
After Week Four: Keep the Good Habits
You don't have to swear off extensions forever. Before your next appointment, tell your technician that your nails were thin underneath, ask them to avoid filing the natural nail surface, and consider leaving one or two weeks between sets. Keep oiling daily — it takes seconds and does more for your nails than any product sold as a miracle repair. And if a set ever feels unusually sore, have it removed rather than pushing through.
Photo: Sergey Meshkov / Pexels